If you’ve purchased my interactive notebooks, or are looking to create your own and incorporate them into your class, here’s a list of tips and tricks to follow. Please keep in mind that these tips apply to all my interactive notebooks (kindergarten through 6th grade).However, using interactive notebooks at the elementary level can pose a few problems, the most concerning of which is time. I wanted to develop interactive notebooks that could be used in an elementary music classroom in a variety of ways. I wanted notebooks that students could personalize and use as evidence of learning, to be taken home at the end of the year. And most importantly, I wanted notebooks that wouldn’t take up too much time.
#1. It’s Your Call
I know this is obvious, but it’s worth pointing out that you don’t have to use my interactive notebooks as interactive notebooks. You could use them as study guides, coloring pages, or worksheets. In fact, I love it when teachers tell me how they’ve used my products beyond what was intended. Just consider how many ways you’ve used duct tape. Multi-purpose items are the best!
#2. Printing and Binding
Decide what pages you plan on using in your classroom and print only those. What you choose to print really depends on your own curriculum.
Traditionally, I advise teachers to use a three-hole punch and slip the pages into an inexpensive three-prong pocket folder before handing it over to the students for personalization. Students can use the folder pockets to store the foldable flaps or cutouts.
However, you could also use the pages individually throughout the year, and then save the binding as a final step. You might even prefer simply stapling all the pages together. It’s really up to you and what works best for your classroom.
#3. Student Interaction
Make sure that your students’ first task is personalizing the front cover of their notebook. This will really set the stage for a personal connection to their learning. Then, decide exactly what you want your students to do in their blank notebook pages. I’ve included prompts on each page to take the guesswork out of this step. However, you can still create your own task to better align with your lessons.
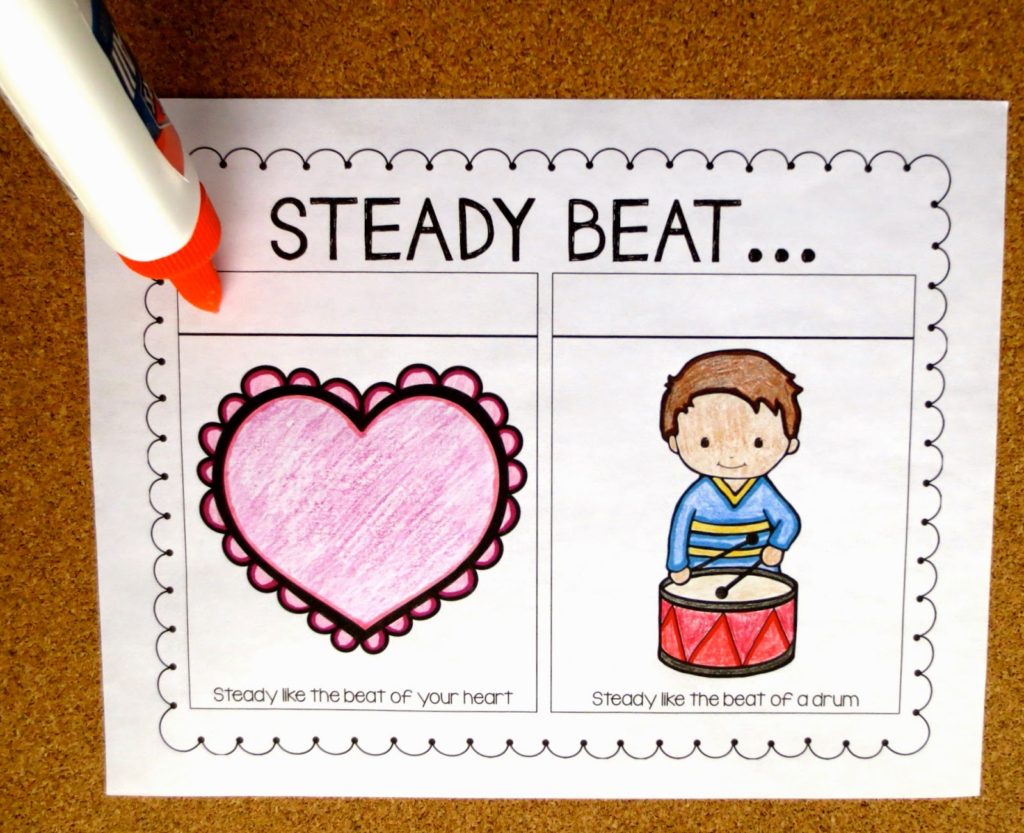
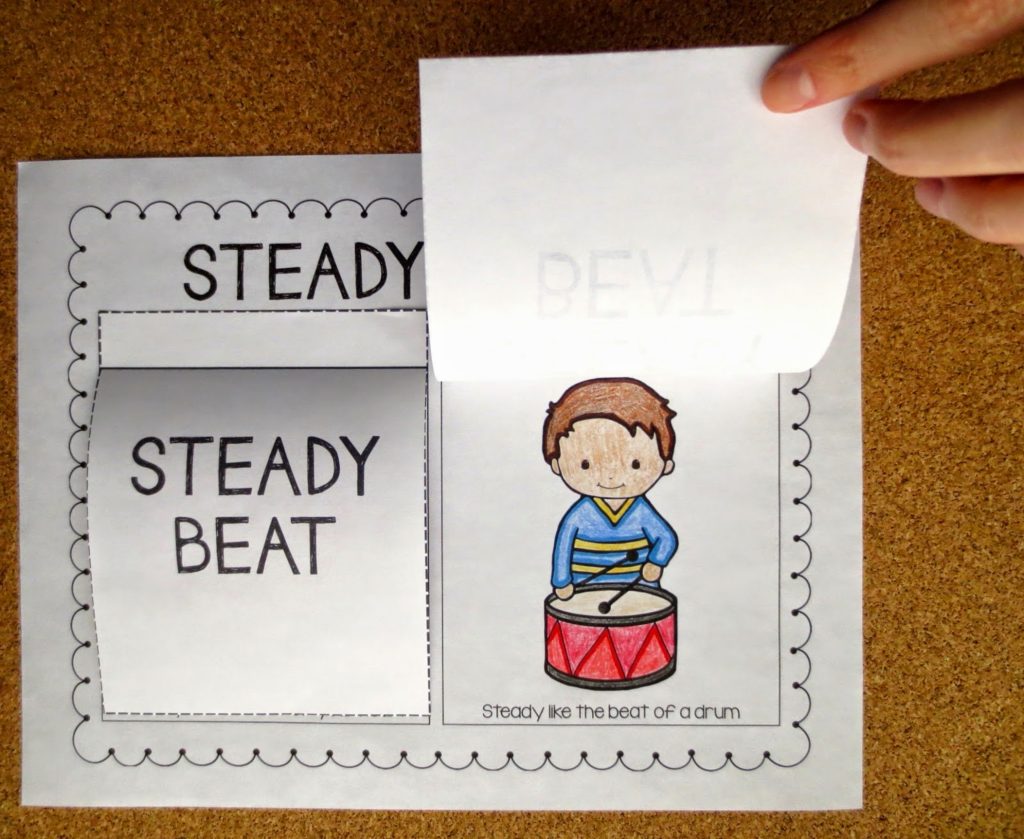
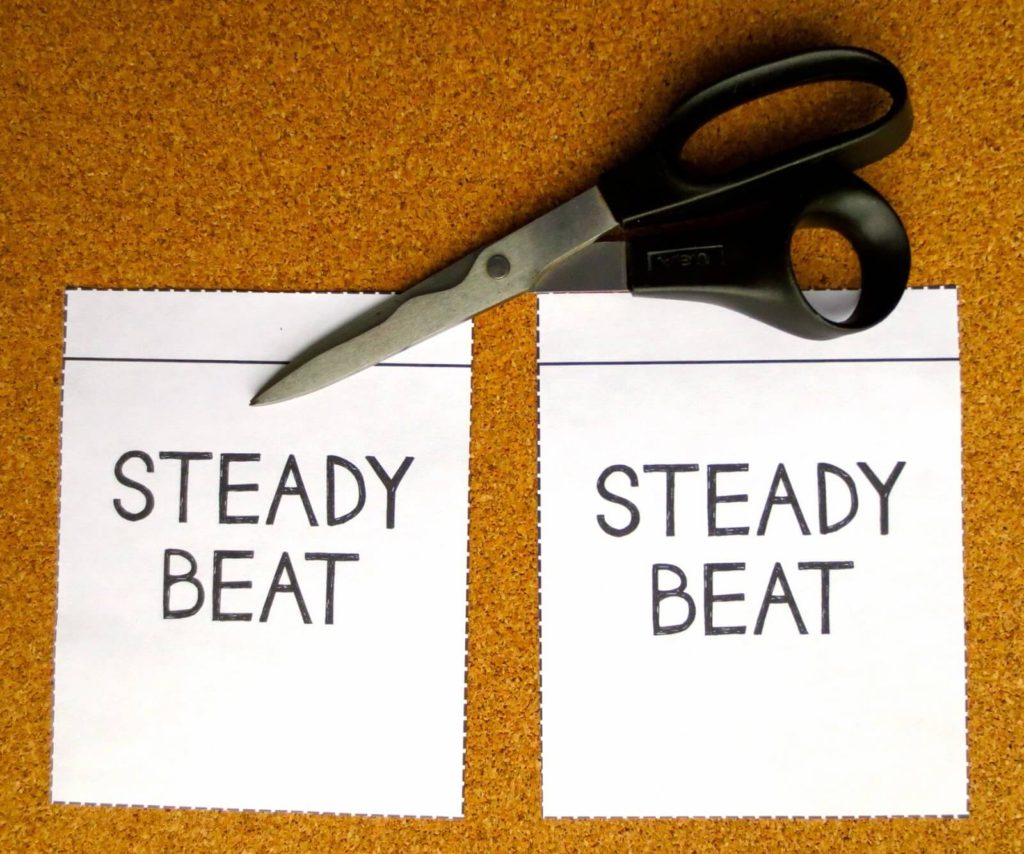
I’ve included printable cutouts for the interactive pages and foldable flaps for the “need-to-know” pages. Each page can stand alone, so you can use or not use the cutouts and foldable flaps.
Here are a few ideas I have for student interaction:
-Have students use the cutouts to create a comparison list, such as high/low or fast/slow.
-Ask students to draw a scene depicting where we would using our singing voice
-Tell students to create a word cloud. Display an example on the board as a reference.
-Invite students to draw a picture depicting the concept,
-Gather music magazines and allow students to use clippings to create a collage.
-Ask students to create diagrams, such as a spoke diagram of tempo.
-Have students create a “ruler” that depicts dynamics instead of inches.
-Tell students to create postcards, in which they write to an imaginary pen pal.
-Invite students to create their own mini-poster that advertises a key concept.
-Collaborate with the art teacher to allow students to create musical art they can add to their notebooks.
-Ask students to compose music that includes an element they’ve learned about.
-Invite students to treat their page like a scrapbook, using photographs to show evidence of learning.
-Generate QR codes that include student audio recordings, and paste them into the notebook.
-Have students create mini-flipbooks to staple into their notebook.
#4. Supplies & Procedures
One of the best things I ever did in my room was to invest in some Red Solo cups for use as supply/manipulative holders. You can read more about that idea here. I would divvy up the supplies the students needed in the morning before classes. For example, in one cup I would place a pair of scissors, an assortment of crayons, and tape/glue (depending on the task).
 |
| Graphics on page via Creative Clips, Whimsy Workshop Teaching, Kelly B’s Clipart, and KG Fonts |
Then, I worked through procedures in my mind to prepare for the flow of traffic, the ease of pick-up, and clean-up. Once students entered the room, I knew (in detail) exactly how they needed to get supplies, what direction they needed to move in their supply line, and how to neatly put everything away. It will take practice, but after a few class periods of working on the notebooks, the procedures will run more smoothly and take less time.
#5. Working
Once your students are ready with supplies, you should be able to walk around the room and give help where it’s needed.
#6. Clean-up
Whatever happens, do NOT let your students go home with a page from their notebook unless you’re prepared to never see it again (or unless you’ve made previous arrangements with other teachers as part of a collaboration). Make sure students know exactly where their pages should be placed before they leave the room. Also, It’s a good idea to reserve at least five minutes for clean-up. It will likely take longer than this the first time, but the process will become speedier the more students use their notebooks.
#7. Lost Notebooks
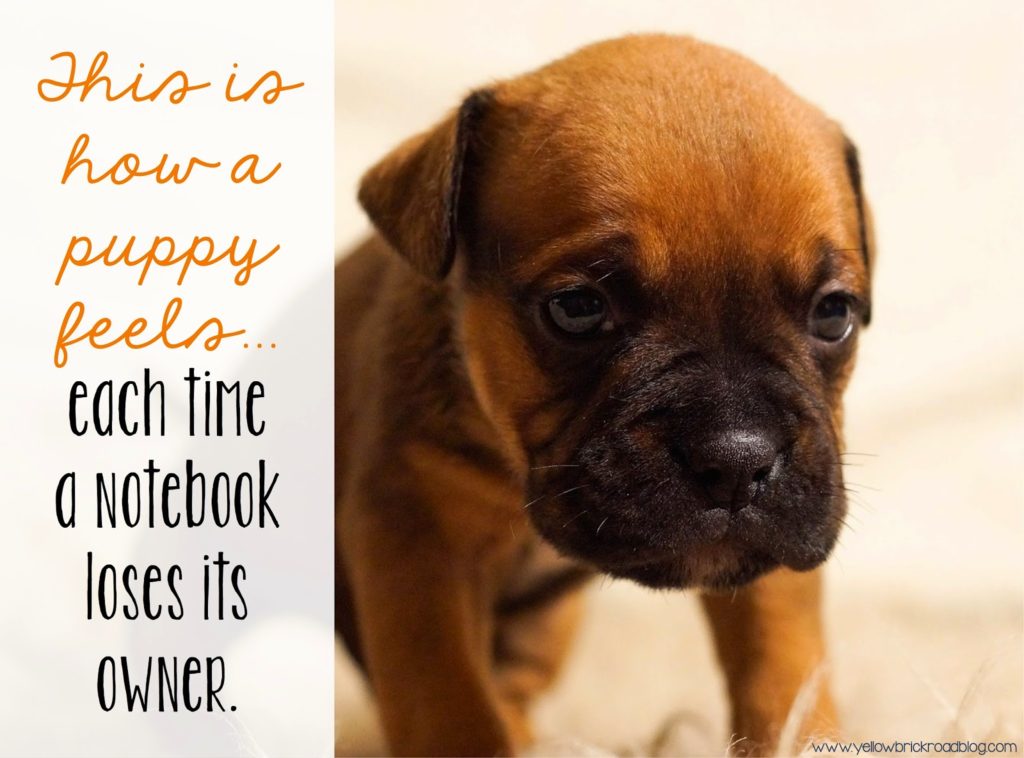
Consider hanging clipboards on your wall with the label (This Notebook is Missing its Owner). This will save you from having to pick up notebooks from the floor and put them back where they belong. Instead, other students will know to place stray notebooks on the clipboard, and the owners will quickly see that it’s theirs (especially with the personalization of the front cover).
If I taught high school, I would use this as a meme of motivation. I’m pretty sure that elementary students would NOT see the humor in this…
 |
| Fonts via KG Fonts |
If you’re looking for additional resources, check out the following links.
Music Interactive Notebook Free Sampler
-This sampler gives you a great idea of the variety of uses for interactive notebooks in the elementary music classroom.
Getting Started with your Interactive Notebook
-this blog post is chock full of tips for getting started and maintaining interactive notebooks. Plus, several important questions you need to ask yourself before getting started.
Interactive Notebooks: a deeper look
-This blog post contains links for each step in the process, from the planning stages to the first few days of school. This post has it all.
QR Codes in the Classroom
-tons of links that will help you incorporate QR codes into your notebooks
Notebooks in Music Class
-a great blog post from an elementary music teacher detailing how she uses notebooks in her classroom
On a personal note, I’m in love with the nostalgia that’s inherently present in interactive notebooks. Years from now, when students are grown and heading off to college or moving out on their own, they’ll find these notebooks. They’ll open them up and a flood of musical memories will surface. Ultimately, that’s what I want students to experience after they’ve finished school. I want them to know that music is an experience they take with them for the rest of their lives.


8 Responses
I just downloaded all of your stuff, and I am so excited to start incorporating INB's into my room this year. Your first year, did you dive right in and do all grades? I have been toying with the idea of 1-5 versus just picking 2 grades and going from there. Also, do you use your notebooks every day or just sometimes. Last question 🙂 Do the kids seem to pick up on the procedures quickly, so the cutting and pasting doesn't take up too much time? Thanks!!
Hi Savannah–I replied to your email, please let me know if you didn't receive it. Also, I second Robert's suggestion below–Kaysee has great tips for INBs!
look up blogger Kaysee Morris
I just looked at her post, and it's wonderful!! Thanks for the great suggestion 🙂
This is awesome. I'm thinking about using interactive notebooks for the first time this year, and I love your tips!!
Thanks Anne! Good luck on your new adventure with INBs 🙂
Can the students complete the pages on their laptop comupets?
No, they're a hands-on activity.