Due to COVID, I know many teachers are being asked to teach from a cart or push in to classrooms via video calls. Because of this, I’ve been thinking a lot about how students can make music with found sounds. More specifically, the sounds they can create from the items in their desk.
Even under “normal” circumstances, students experiment with the sounds they can make at their desk, so why not organize all that sound into a beautiful piece of music?
RULER
This works best with a ruler that’s long and flexible, but you could also use something as small as a coffee stirrer (as shown in the video below). Perhaps a local coffee shop would be willing to donate their plastic stirrers for your found sounds lesson.
- The great thing about using a long flexible instrument like this, is that you can teach the connection between length and pitch. The longer the instrument, the lower the pitch, and vice versa.
- If students are using a ruler, they can keep track of the pitch indicated by each number line. Then, they can use these numbers to begin writing down their compositions.
PENCILS
This is an obvious one, but still incredibly useful. Students can use their pencils in lieu of rhythm sticks. Here are some ideas for how to use them:
- Have students sit on the ground and tap their pencils against their chair like a drum
- Tap the pencils together as they would with rhythm sticks
- Tap their pencils on the chair leg for a metallic sound
- Tap their pencils on the desk
- Turn the pencils around and tap the erasers for a muted sound
CRAYONS & COLORED PENCILS
- If students have a plastic box, have them empty out everything but the crayons. Then, ask them to move the box side to side so that the crayons are gently bumping against each other to create a rumbling type sound.
- Have them place colored pencils on their desk, side by side. Have them place their hands flat against the pencils and move them up and down so they rub against each other.
- Have them pick up several crayons and drop them (from a short distance) back into their box so that they hit against each other to create sound. You can do the same with pencils or markers.
PAPER
- Have students crinkle and un-crinkle a piece of paper for a sound similar to a scraper
- Have students grip the paper in both hands, then run it back and forth over the edge of their desk (they’ll need to be careful not to push too hard and tear the paper)
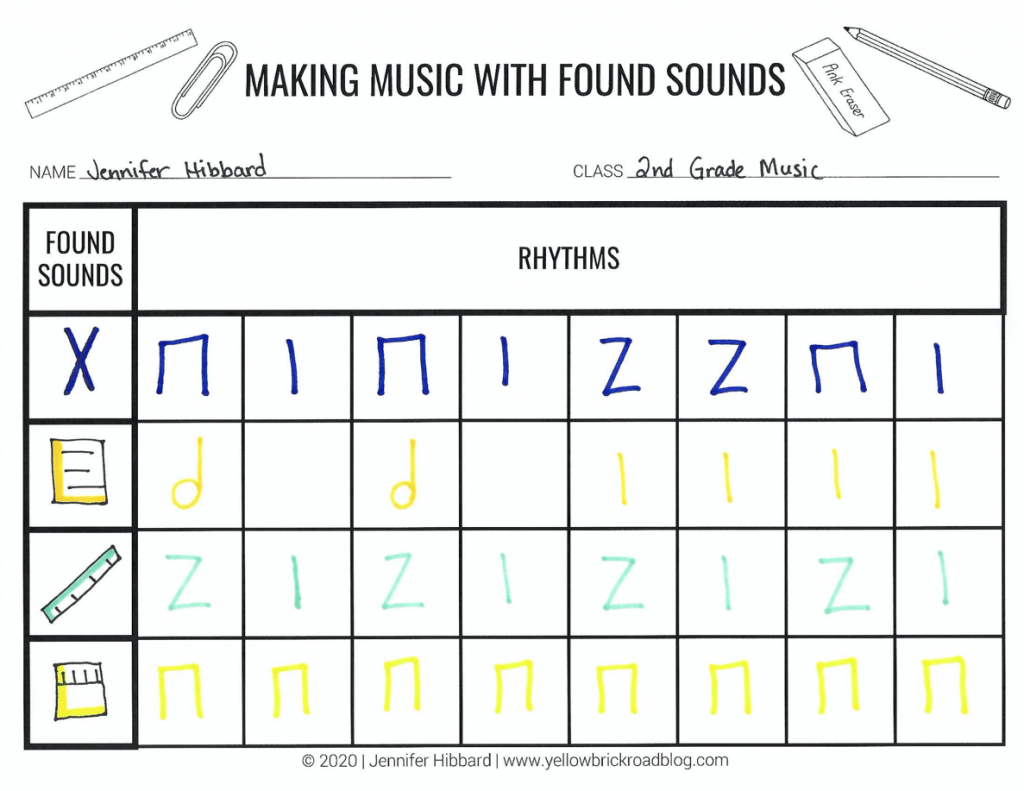
COMPOSING
- Once students have had time to experience different sounds, ask them to draw icons to represent each sound
- For example, a rectangle would represent paper; two lines would represent pencils; etc.
- Have students draw a table with enough columns for the sounds they want (or download the printable below)
- Then, they can write rhythms in each of the boxes and play their found sound composition