
I was watching a video recently, where a teacher was showing off the activity binder she’d made for her nephew. The moment she started walking through all the activities she’d created, I knew I wanted to make something similar, but customized for the elementary music classroom.
An activity binder (or busy book as it’s sometimes called) helps students practice their fine motor skills with activities that require them to attach small objects with Velcro dots or manipulating small pieces with magnets. My version still accomplishes that, but centers music concepts.
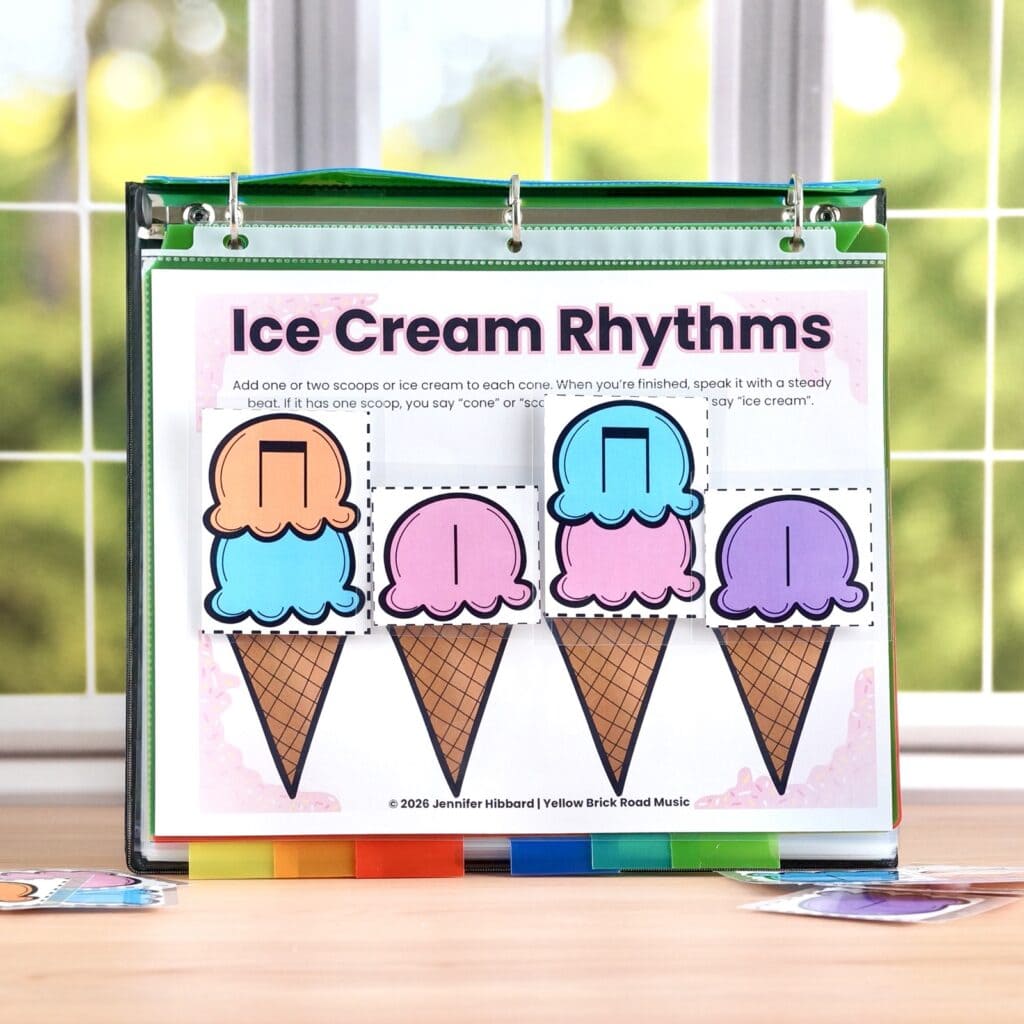
How It Works
I’m using the printables I made to show you how the binder works, but this is just a starting point. One of the benefits of this binder, is that you can keep adding to it throughout the year. The binder keeps everything organized and neatly in place.
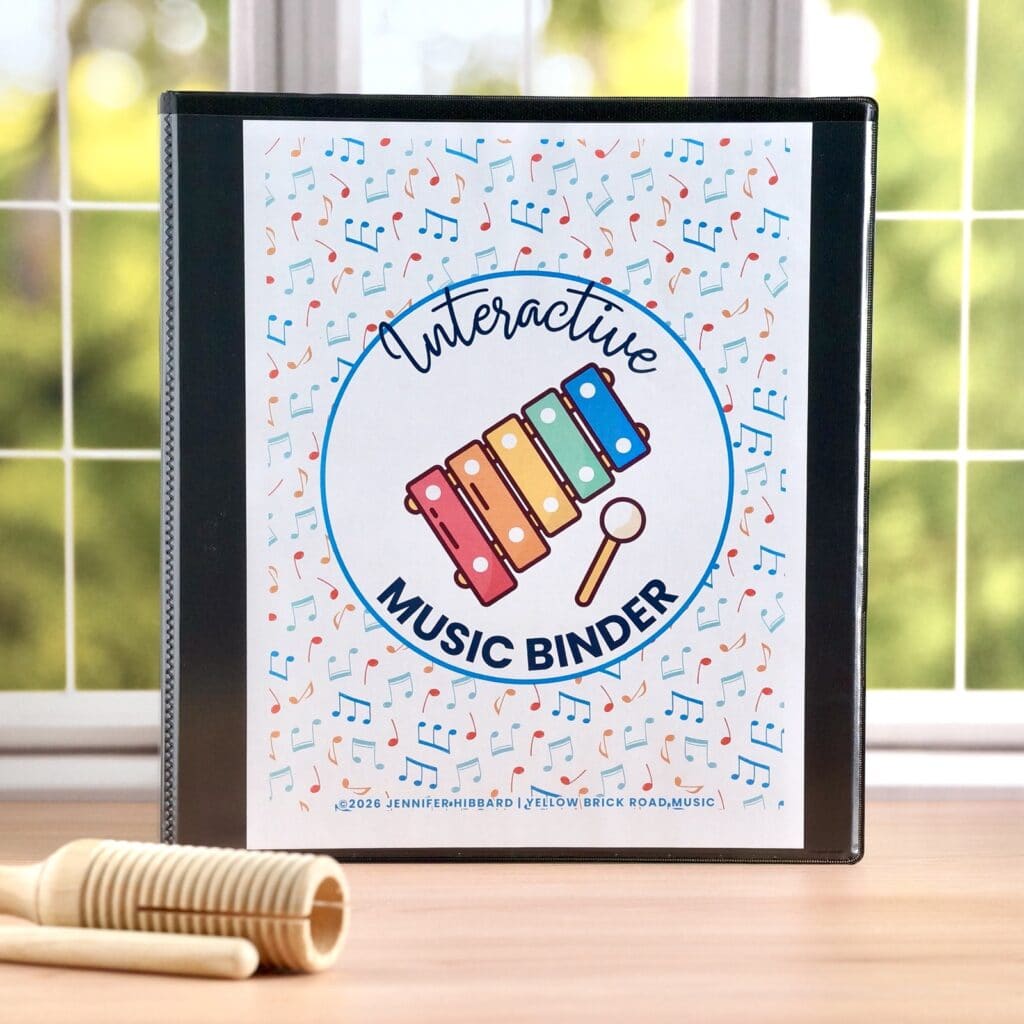
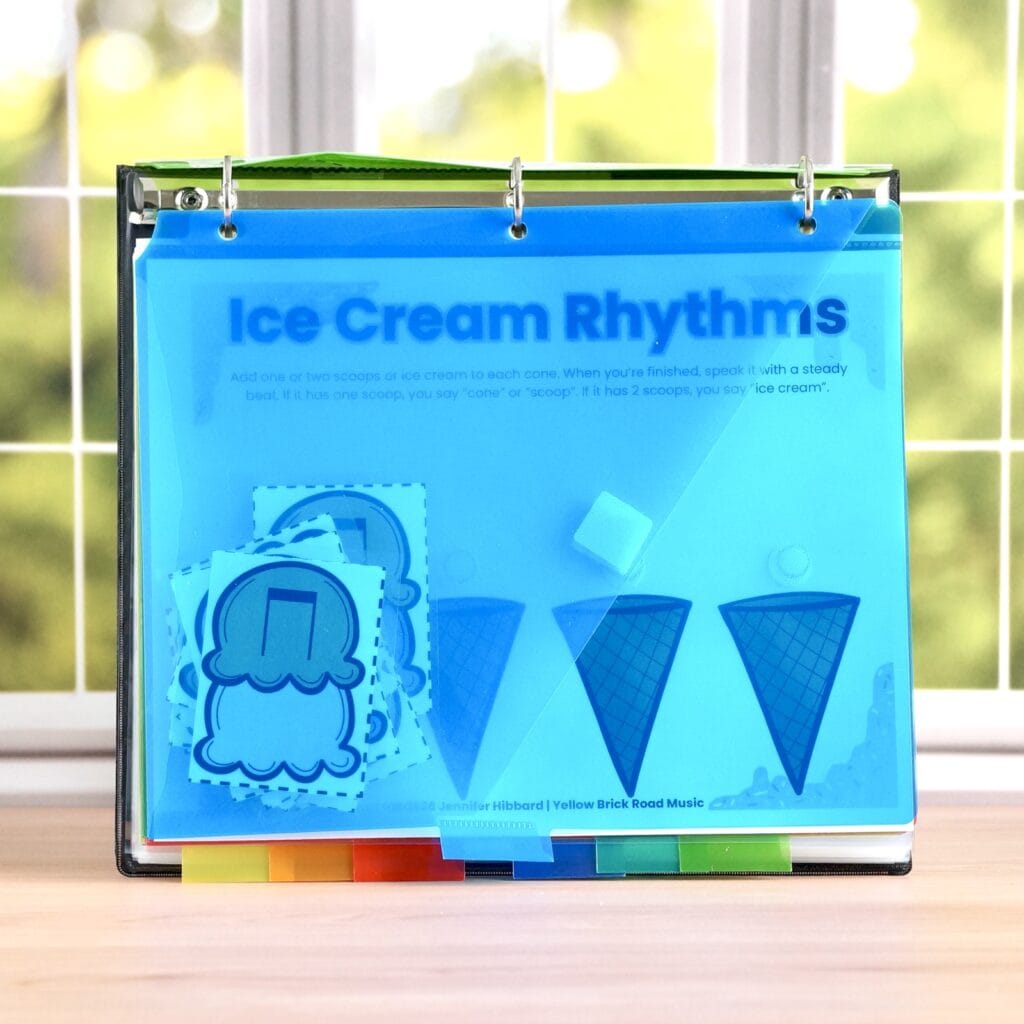
I made two activities for my binder, the first is called Ice Cream Rhythms. This activity would be great for lower elementary students working on quarter and barred eighth notes.
Ice Cream Rhythms is perfect to pair with my Ice Cream Rhythms Slideshow, which you can download for free HERE.
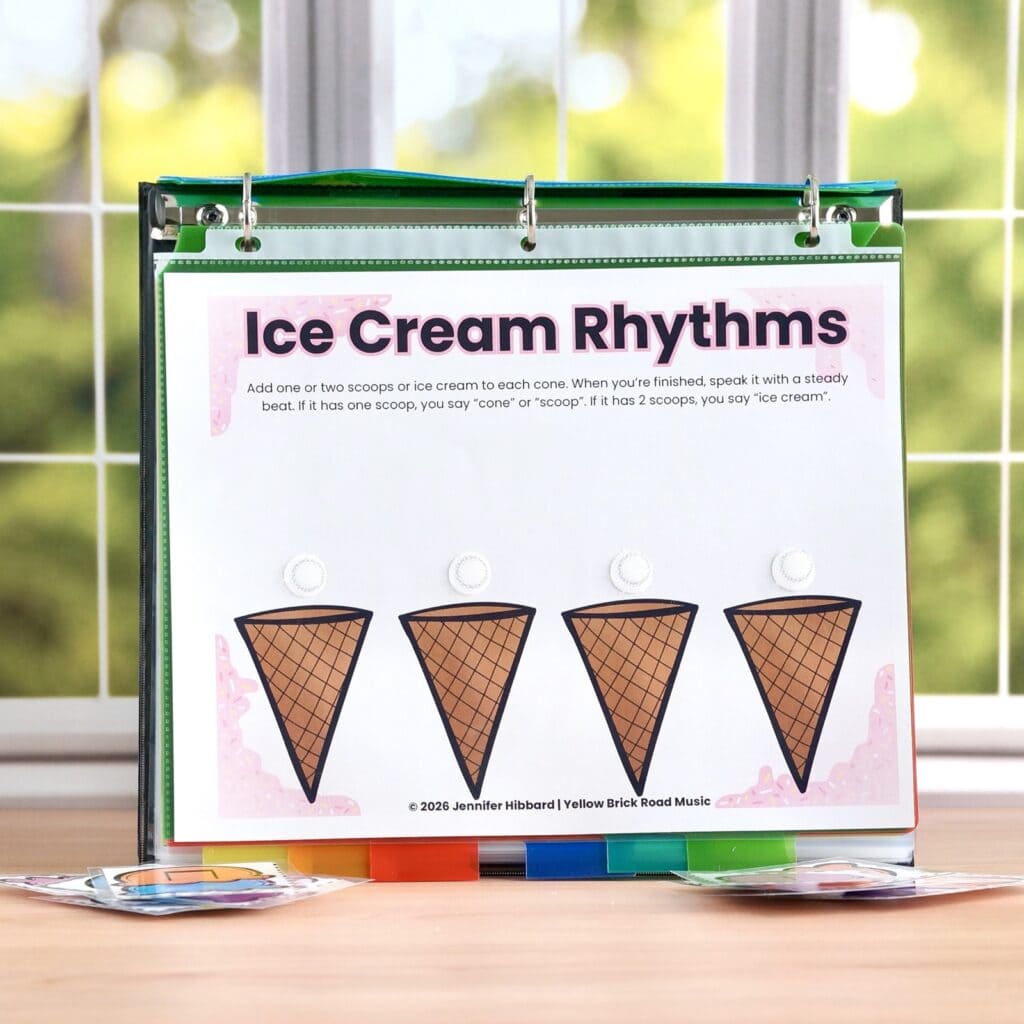
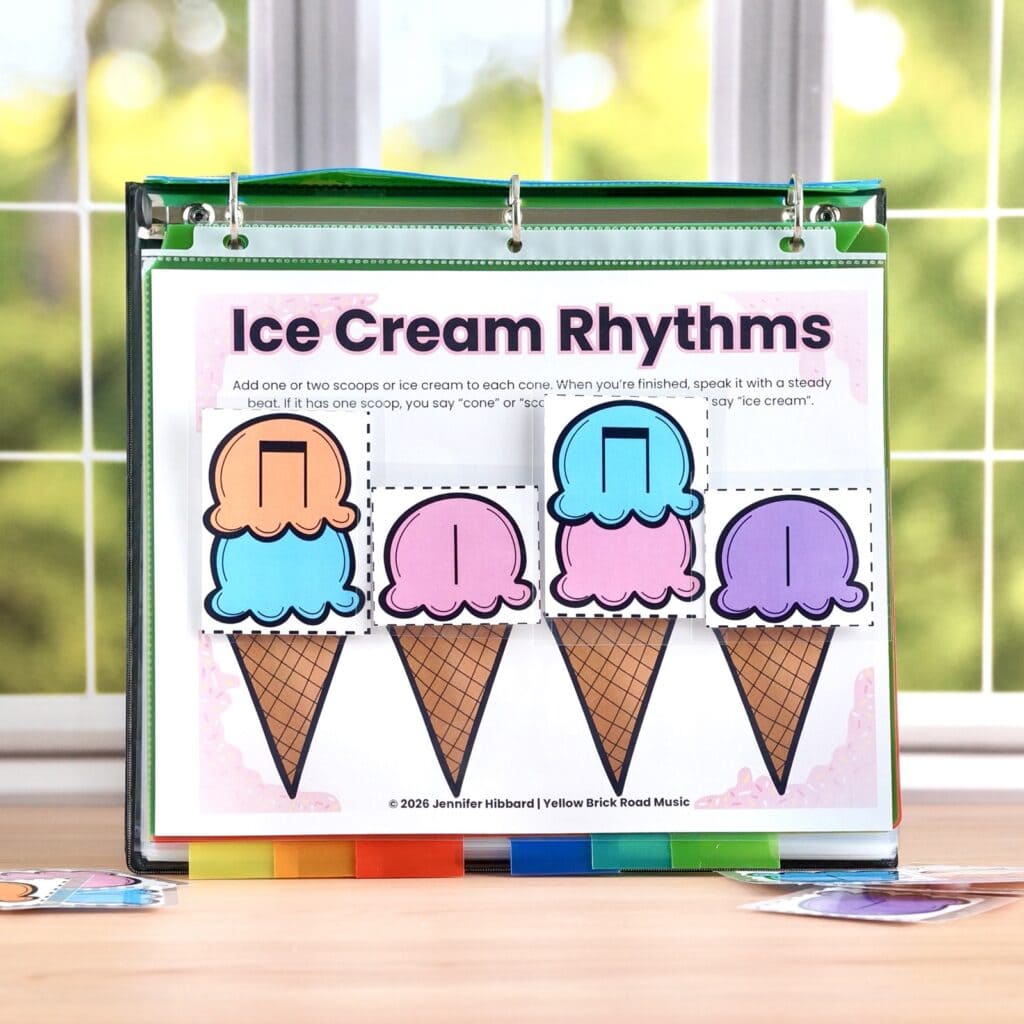
The picture on the left, shows my printable inside the sheet protector with Velcro Dots above each ice cream cone. Then, I made a rhythm pattern with the laminated cutouts. The directions state, “Add one or two scoops or ice cream to each cone. When you’re finished, speak it with a steady beat. If it has one scoop, you say “cone” or “scoop”. If it has 2 scoops, you say “ice cream”. The rhythms and directions are the same ones I used in my free Ice Cream Rhythms Slideshow.
The last picture shows the storage for the cutouts, a tab divider with a folder pocket. I also added some Velcro squares to the top of the pocket to keep them from falling out if the binder is tipped upside down.
Next, I have an activity for the instruments of the orchestra called Build an Instrument. This activity could work for Pre-K through 2nd grade.
This activity would partner really well with my Instruments of the Orchestra Interactive Slideshow (with built-in audio), which you can find HERE.
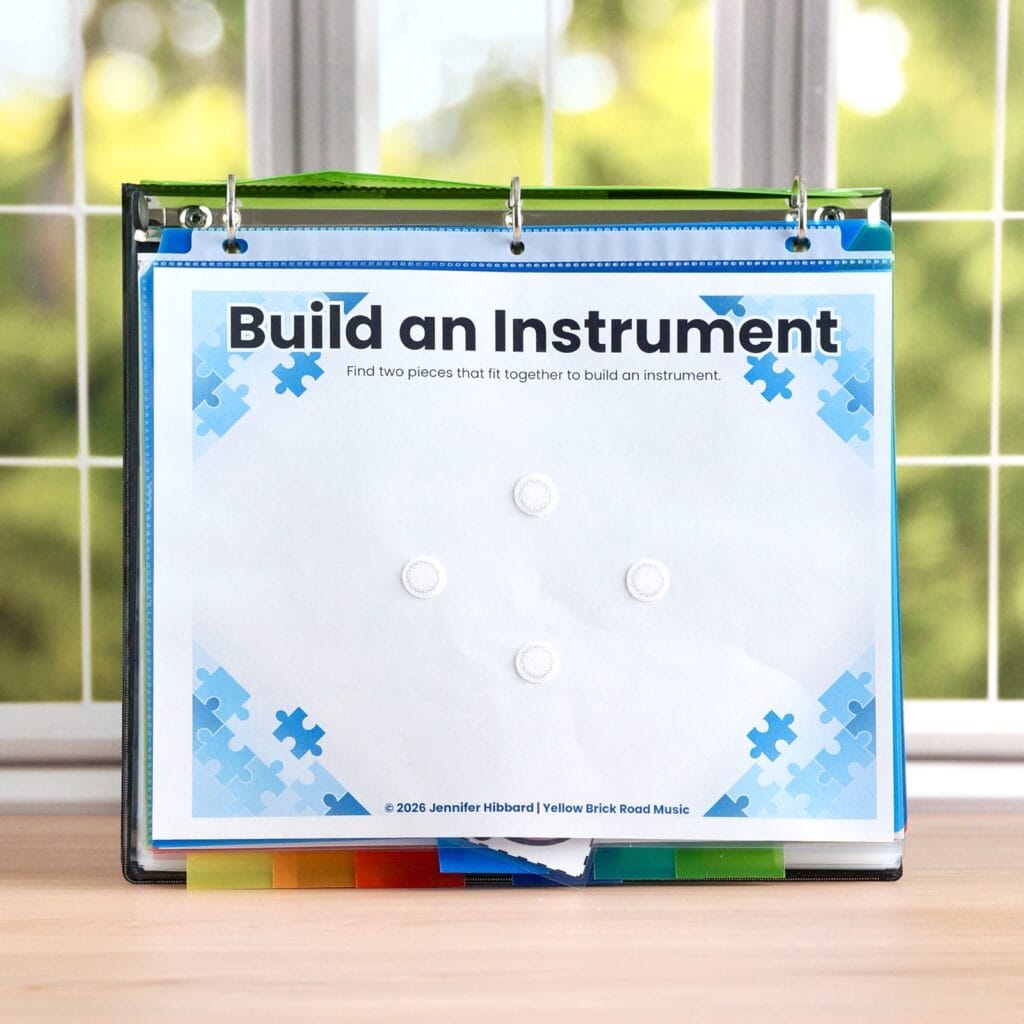
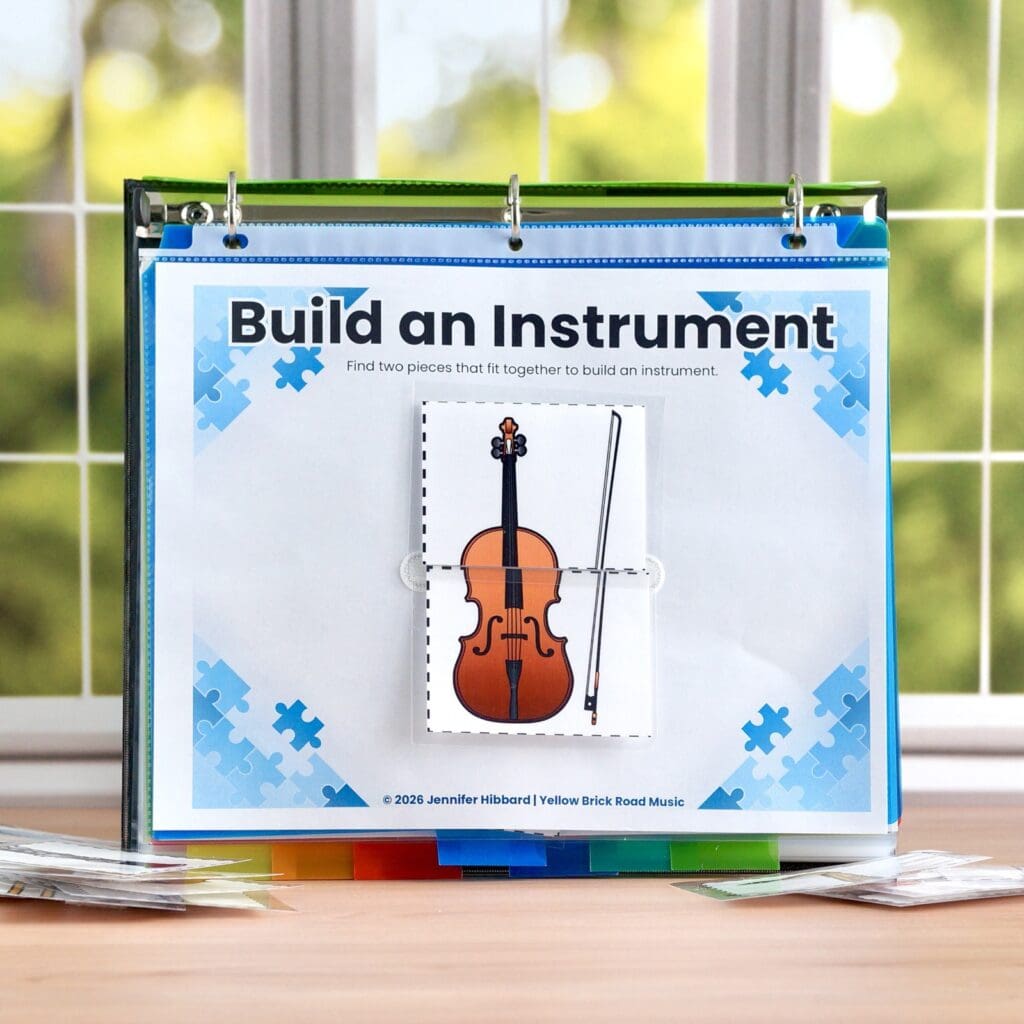
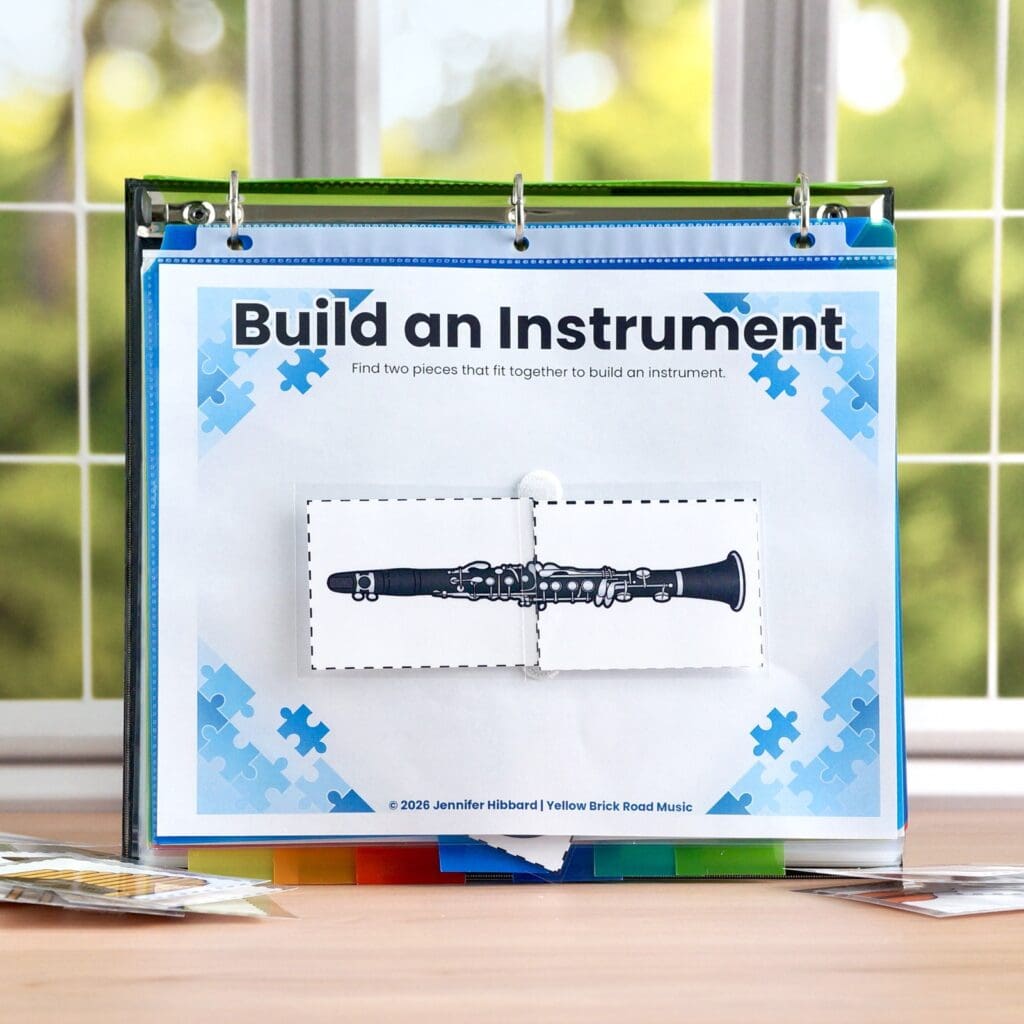
The picture on the left shows my printable inside the sheet protector with four Velcro dots. My printables have circles indicating where to place the dots, so you don’t need to worry about getting them in the wrong spot. I should know, that featured picture was my second attempt to get it right…
The activity is super simple, students have to find two pieces that fit together to build an instrument. I included 10 instruments total in my free download representing the woodwind, brass, percussion, strings, and keyboard families (the same families that are in my Instruments of the Orchestra Slideshow).
Why It Works
The interactive binder is wonderfully simple, easy to make and use, and would work especially well for your lower elementary-aged students. Here are just a few of the benefits of using an activity binder:
- Durability
- Lamination means that every piece will last through the year
- Sturdy binder means that it won’t get crushed or trampled on
- Velcro dots and squares hold up to continued use
- Budget-Friendly
- Your school might be able to provide most of what you need, including the paper and lamination
- You and/or a teacher friend are likely to have an old binder, sheet protectors, and tab dividers you can use
- Velcro dots/squares are likely the only thing you’d need to purchase, and you can get a whole roll of it for less than $10
- Organizer’s Dream
- Everything stays neatly in place inside the binder
- Each section is clearly listed using tab dividers
- Adding new activities midway through the year is easy using the three-ring binder
- Student-Friendly Cleanup
- When students are done with the activity, all they have to do is put the pieces back in the folder and close the binder
Ways to Use It
Open House Night
You may remember that I preferred open house nights that didn’t require me to make small talk or entertain hundreds of grownups throughout the evening, so I created centers. You can learn all about that HERE (and get free printables for your open house centers).
I envision an interactive music binder area for younger siblings attending the open house event. You can place two or three binders in a corner and invite little ones to try it out. It’s a good alternative to them finding expensive instruments tucked away and trying those out instead.
Regulation Station/Break Area
Due to the Velcro closures, the interactive binder is not quiet. However, that doesn’t matter so much in a music classroom where students are singing and playing instruments. These activities would be great for students who just need an activity to do while they reset.
Testing Season…Ugh
I hate that I ever had to consider testing season in my lesson plans, but I know it was and continues to be a reality for many elementary music teachers. You know the scenario; testing season rolls around and the admin requests that you plan for “quiet lessons” since your room is right next to the computer lab. Ugh.
Of course, making 30 binders for your entire class isn’t practical, but it would be a good option as a small center along with a rotation of other quiet music centers. It’s feasible if you make five binders and have six centers.
Parent/Teacher Conference
I think we’ve all experienced one of those parent/teacher conferences where the younger siblings are desperate for something to do, and decide to amuse themselves with whatever instrument/thing they can find in your classroom. You can avoid that by having this binder open and ready to keep little hands busy. I’d bet the parents would appreciate this too!
Alternate activity for students who can’t participate in the planned lesson
It’s sometimes hard to accommodate students who can’t participate in your planned lesson. It’s stressful to create successful last-minute plans if you’ve been given late notice of the student’s needs or if the student is new to the school and it’s their first day. This binder is a great option to keep them involved in music while still accommodating their needs.
DIY Instructions and Free Download
And now, time for the fun part. With just a few materials and my free download, you can get started on creating your own interactive binder. Again, this is just a start. I’m sure you’ll come up with many ideas to add to the binder throughout the year. And if you do, I hope you’ll share your ideas with the rest of us in the comments section!
Materials Needed
- 3-ring binder (1-inch works well, but use what you have)
- Colored tab dividers with pockets (hold pieces and keep categories organized)
- Sheet protectors
- Velcro dots or squares (self-adhesive)
- Free Printables Download
Assembly Steps
- Add sheet protectors and tab dividers to the binder.
- Label tab dividers by music element or concept (example: instruments, rhythm, dynamics).
- Print the binder cover and activity pages, then insert into sheet protectors.
- Add Velcro dots/squares to the sheet protectors where indicated.
- Teacher Tip: Use the soft/loop side only. Facing pages press together when the binder is closed, and the rough/hook side can scratch the plastic over time. Press each dot firmly for a few seconds so it bonds well.
- Print, cut, and laminate the activity pieces.
- Add Velcro to the back of each piece, using the opposite side (hook) from step 4. Center it so the piece lines up correctly on the page.
- Place the pieces in the tab divider pocket next to their matching activity page.
Teacher Tip: Add a Velcro closure to the top of the tab divider pocket so pieces don’t fall out if the binder is tipped upside down.