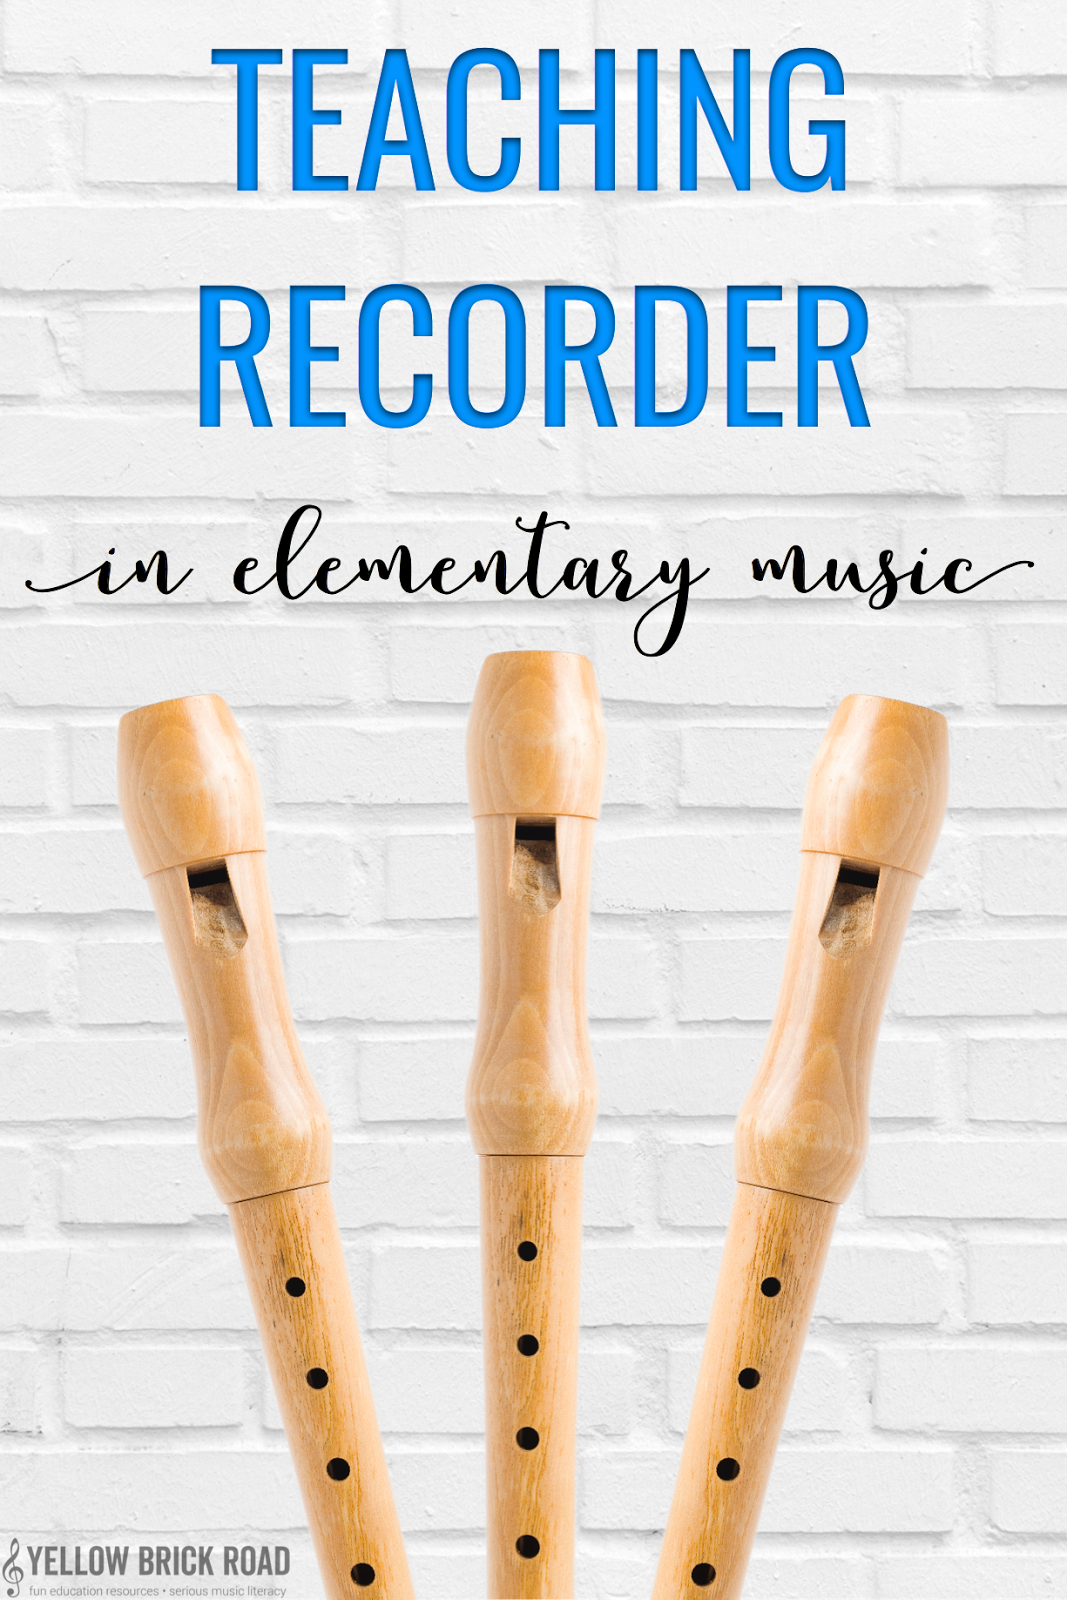
Have you noticed lately that recorders seem to be a hot topic among memes this year? Usually it says something along the lines of, “Here’s this torture device that your kid will bring home this year. Love, your sadistic music teacher.”
Personally, I love teaching instruments like the recorder, and I don’t mind the squeaks that go along with it. It’s all a part of the learning process. Squeaks happen. We learn from it. We grow as musicians. However, we don’t want the squeaking to last forever, or at all really. Here are my tried and true practices for teaching the recorder in elementary music.
TEACHING POSTURE
Don’t Burn Your Back on the Lava (sit forward)
To begin, I modeled sitting on the front of a chair versus leaning back and/or slouching. I taught all aspects of posture without a recorder, then added it later. Once I modeled the correct posture, and the students had imitated me, I told them to pretend that the back of their chair was made of lava. Apparently, lava is a serious threat as a kid, and I can’t refute that considering how often I furniture-jumped with that exact premise in mind…
Pull the String Tight (no slouching)
I stole this idea from my high school choir teacher. He would tell us to pretend that we had a string running through each vertebrae of our spine and out the top of our head. If the string was pulled tight, we sat up straight. If the string was cut, we slumped over, like a puppet without strings. I always modeled pulling the string tight and then cutting it. The more exaggerated I was with my movements, the more they were entertained, and the more it stuck with them. Later, when they began playing music on the recorder, I could silently “pull the string”, and my students would immediately sit up straight.
No Slides (feet flat)
First, I modeled sitting with my feet flat on the floor. Then, I straightened my legs, and observed that they looked like a slide because of the angle they created with the floor. At some point in my career, that observation turned into a story about how little children could slide down my legs. My students found this ridiculous story entertaining, so I stuck with it year after year.
Longtime readers of my blog will recognize many of these sayings from my post Teaching Recorder Basics, which you can read about here.
TEACHING BREATH SUPPORT
Make the Tissue Wave (soft air)
I modeled blowing on a tissue (halfway pulled out out of a tissue box) softly enough that it waved, but didn’t completely bend over. Then, I went around the room and asked students to do the same. It was easy enough that most were able to do so on the first try, and they were all genuinely surprised by how carefully they had to manage their air flow. Plus, it’s better that they blow too softly on the first try, rather than too hard.
TEACHING ARTICULATION
You can use a fun beat track, like the one below as they practice. This will mix it up and keep them engaged. I searched “kid friendly beat tracks” on Youtube, and the following video popped up. Any beat track that you think will keep them engaged will work.
 |
| Pin and share. |
4 Responses
I am absolutely in love with this post and can't wait for next week! Getting kids started on the right foot is so critical to long-term success on recorder. As someone whose primary instrument is recorder, I start my students off very similarly, but I don't have all of your clever sayings 😉 And those tracks you found are awesome! 😀 Can't wait to add these to my bag of tricks this year.
Thank you Elizabeth 🙂
To teach soft breathing (and social skills while having fun) I ask the kids to share a small bottle of bubble liquid and blow bubbles for ten minutes in the first lesson. They remember the skill afterwards. And for tonguing I use 'doo' by asking them to listen to Beethovens fifth. They learn a little bit about the composer, and silently saying 'do do do dooo' helps them with articulation.
I LOVE your idea with the bubbles! Thanks so much for sharing 🙂