PLAY WHAT THEY CAN SING
- If your students can sing the piece, then they will be able to play it more easily. They will already “know how the song goes” and will be able to spot their mistakes more easily.
- If they know how the piece should sound, then they will be able to focus more on expression from the very beginning. They will be able to convey the mood of the music, rather than worrying about whether or not they played the right note.
- Remember all those fun games they played with the Solfege you taught them? Well, they can play them all over again. Only this time, you can have half the class play the game, while the other half plays the recorder. It’s a win-win.
This isn’t to say that your students won’t ever sight-read a piece of music. But just as we wouldn’t expect a child to read before they speak, we can’t expect our students to read before they play.
WARMUPS
Warmups should be a part of every recorder lesson. It gives you the opportunity to explain why warmups are important. Just like athletes, musicians need warmups to prepare for practice and/or performance. And secretly, it gives you a chance to review basic technique and assess student progress. Here are some ideas for warmups you can try with your classes:
CALL AND ECHO
- Play patterns on your recorder and ask the students to echo you on their recorders.
- Switch it up by asking them to sing the pattern back to you OR sing a pattern and have them echo it back to you using their recorder.
STUMP THE TEACHER CHALLENGE
- Trick students into playing solos by asking them to individually challenge you on their recorder. The volunteer student will play a four-beat pattern (improvised or familiar), and you have to echo it back without any mistakes. You can work this into your daily warmup by limiting it to a certain number of students each day. This way, everyone eventually gets a chance to challenge you, and you can secretly assess them as they do.
REPERTOIRE
Many students struggle to make the transition from playing notes without written notation, to reading and playing notation. The ideas I’ve already shared, are ways to ease them into this transition. As I’ve mentioned before, if they already know how the song sounds, then that’s one less thing they have to worry about as they attempt to follow along with written music.Once students have gained confidence in playing E and G, have them play a duet with you using the following video. True, it’s technically made for Boomwhackers™, but works nicely for our purposes. Students would play the first four beat of each phrase, while you would play the last four beats. Later on, when your students have learned more notes, they can try playing the entire thing on their own. Or you can create an ensemble of recorders and Boomwhackers™.
I love that the author incorporated so many visual aspects, including proper fingering and color-coordinated notes. I believe color-coordinated notes are another great way to ease students into the transition to reading black and white notation.
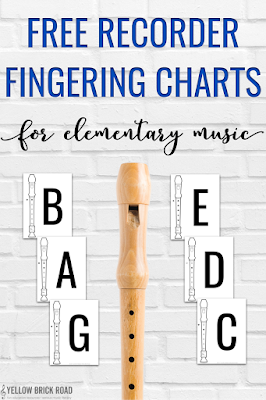
FREE RECORDER FINGERING CHART
 |
| Pin now and share the wealth! |