
It’s time for my very first Reader’s Choice blog post! Today’s topic was suggested by Christine from Elementary Etudes. When I asked the followers of my Facebook page what topic I should write about, Christine’s exact words were,
“Mallets! I struggle with these. My kids loved your leaves lesson and it was wonderful for introducing high/low. Now, where do I go from there??!!”
I know how she feels, and I think we can all relate. One of the strengths of being a teacher is that we are always striving to improve our craft. And while I’m not an Orff-Schulwerk expert, I’d like to share some tips and tricks that I’ve found useful when teaching mallet instruments. Hopefully it will help some of you too!
Don’t get out your instruments until your students have mastered holding onto their mallets. Here are a few phrases I’ve found helpful for mallet grip:
Visuals like the one below are always helpful, as is practicing bouncing the mallets to a steady beat. This is your chance to put on your students’ favorite song and have them practice bouncing to the beat. If your students have already mastered grip, have them alternate mallets while keeping the steady beat. Or you could challenge them with a pattern, such as: right mallet, left mallet, both, both, repeat.
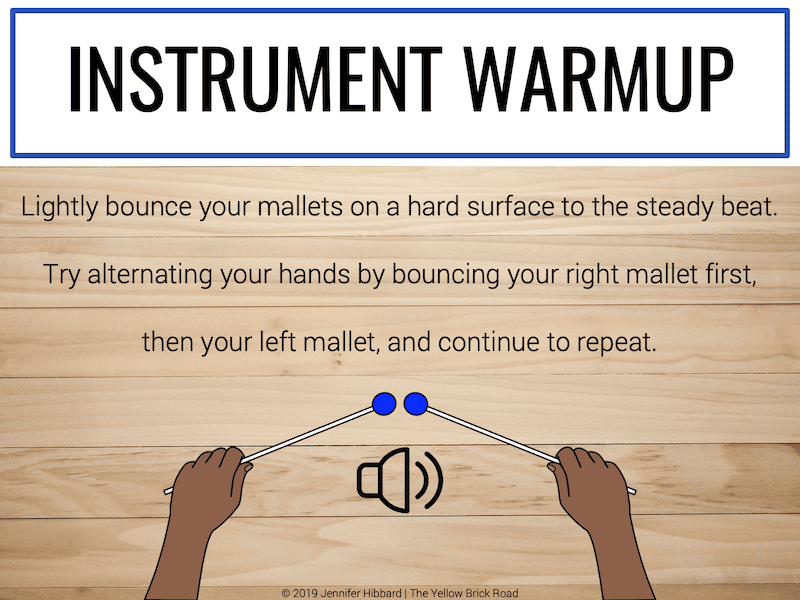
To keep myself from having to repeat these phrases ad nauseum, I gave my students a chance to become familiar with the grip and technique of the mallets before introducing the actual instruments. I repeated relatable phrases while they practiced bouncing their mallets softly on the ground or on their chairs. We would “walk” our mallets to get a feel for alternating hands. We “jumped” to become familiar with the technique for playing simple borduns. And if my students suggested a word that was more relatable, then that’s what I used. As one of my mentor teachers used to say, “Use what works.”
Teaching high and low always started with a visual like the one below. Students could immediately identify high and low when positioned in this way first. Then, they could more easily identify the high and low bars on the instruments in front of them.
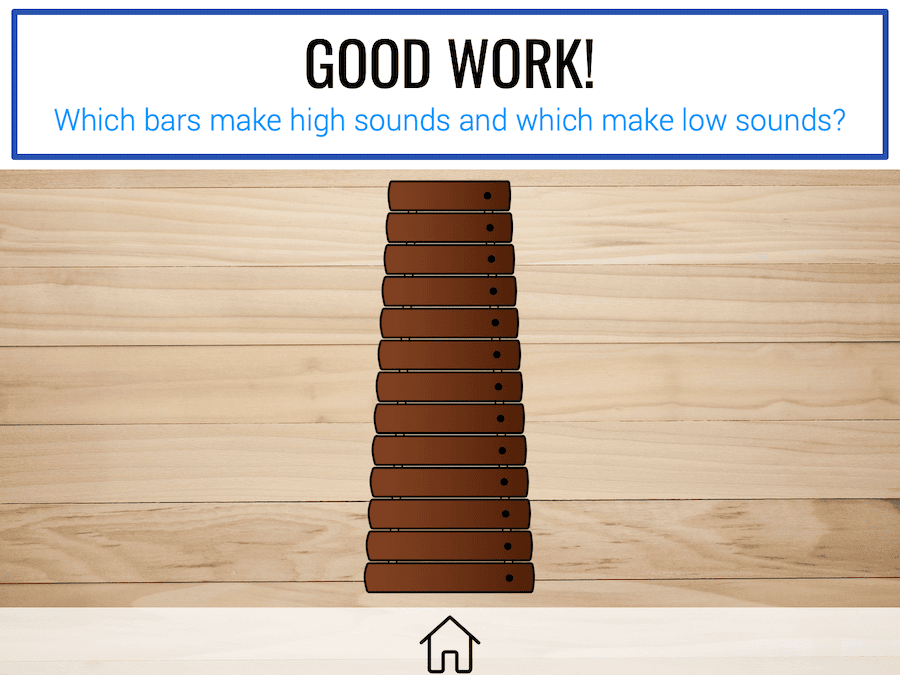
I usually introduced Orff instruments with my students in first grade. We started by identifying high and low bars. During these lessons, I focused on grip, technique, and differentiating high and low. This meant that students got to play a lot of glissandos. Trust me when I say that kids live for glissandos. It’s as good as a sugar high for them. Maybe better.
Once my students were comfortable with grip, technique, and identification of high and low bars, we began to focus on “walking” and “jumping” with mallets. I had students “walk” their mallets (one bar at a time) going higher or lower. Picture books are great for this purpose. Ask your local librarian for book suggestions, they don’t have to reference musical pitch, just any text that uses “high” and “low” will do.
Using the picture book, you can work out what each word or phrase will mean for your students. For example, “He ran up the stairs” could translate to students “walking” their mallets from low to high. Or “he jumped up high” could translate to them “jumping” (two bars at a time) on the high bars. Specific pitches aren’t important at this point, we just want to get students familiar with high/low bars and bouncing their mallets correctly.
Once students are comfortable “walking” and “jumping with their mallets, you can have them try different types of borduns depending on the specific skill or song you’re trying to teach.
For those of you who are not familiar with the different types of borduns, the following video is a great reference point.
Choose songs students already know or songs that use techniques they’ve already mastered. This makes it easier for them to compare how the music should sound with how it sounds when they play it. Best of all, you can break students into smaller groups, so some are playing and some are singing and students won’t get bored or overwhelmed trying to play the song on their instrument.
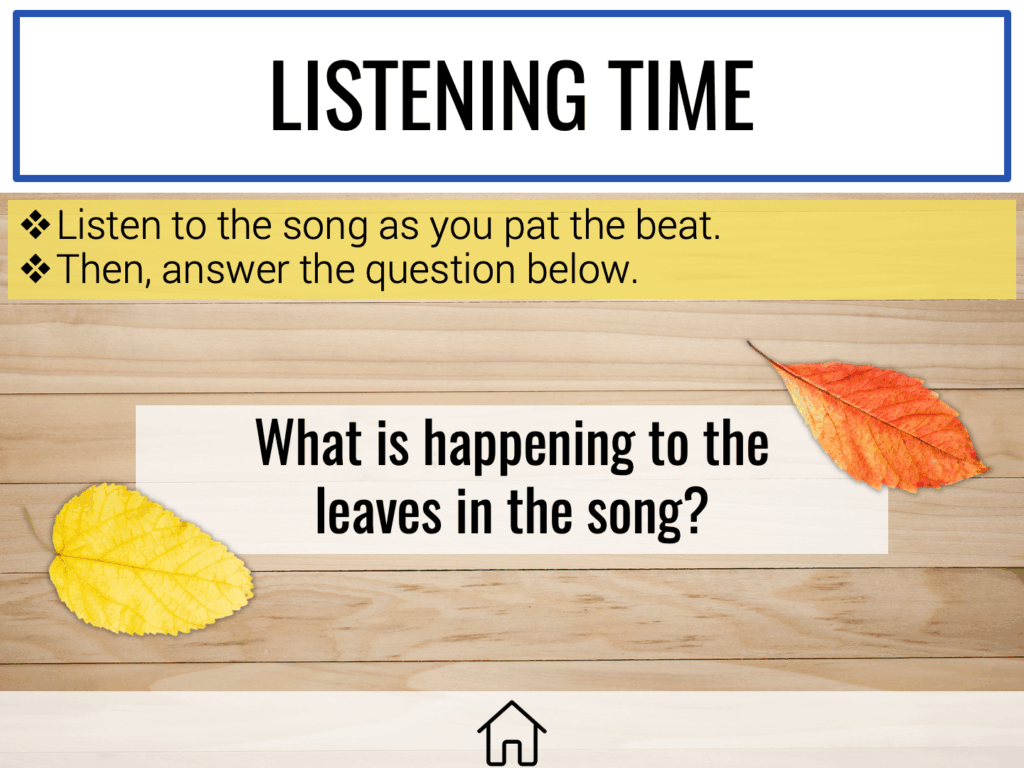
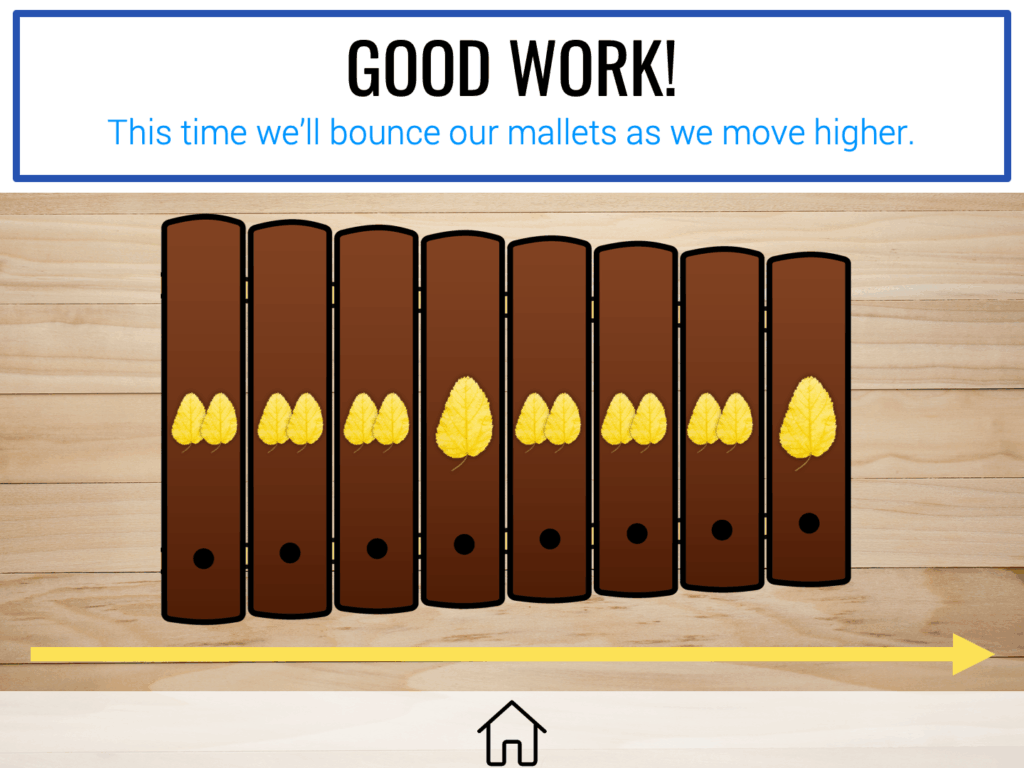
If your students have mastered walking their mallets one bar at a time, then I’d highly suggest trying Arvida Steen’s Leaves. It’s perfect for practicing high/low and playing on bar at a time. You can find this song in her book Exploring Orff. I created a resource to accompany this song because I think it works so well for students who are still new to Orff instruments. Below are a few slides from the activity. Click HERE to learn more about it.

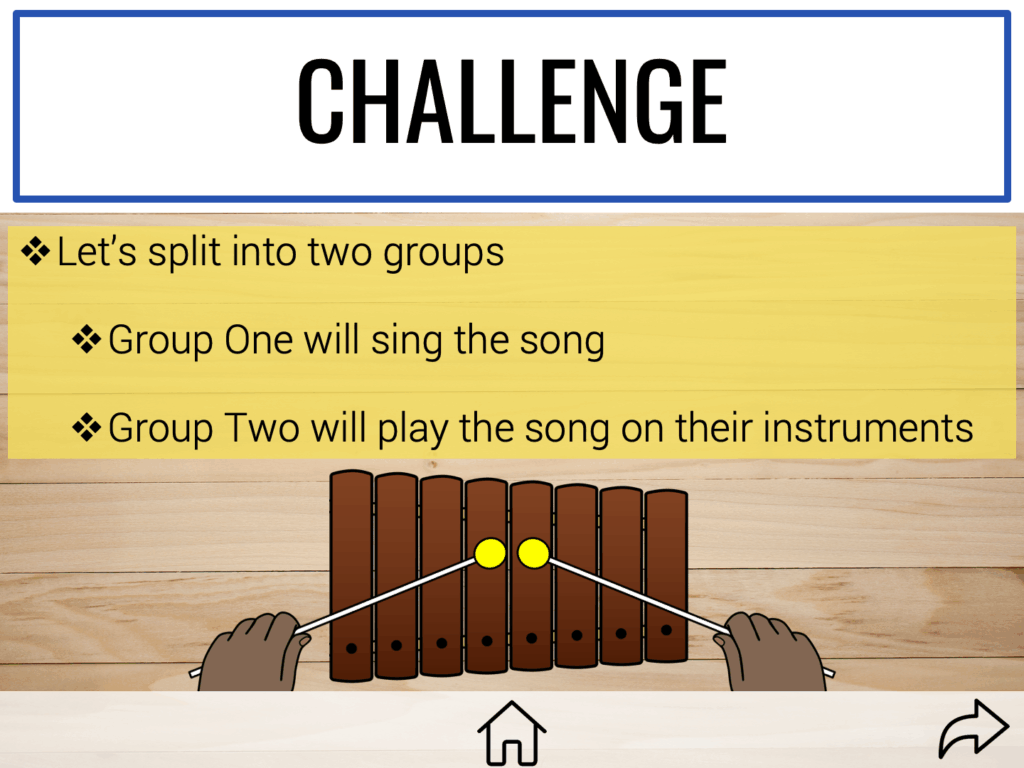
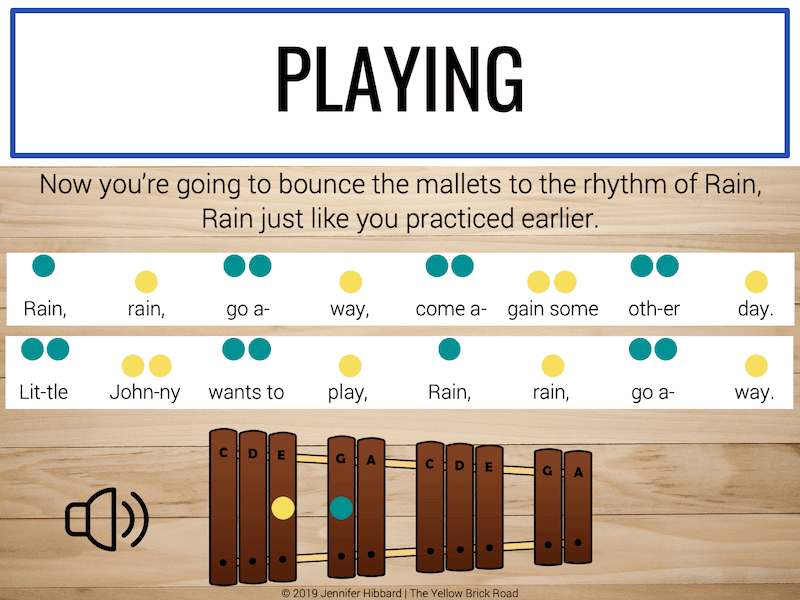
Folk songs that you’re already using in class are always a good choice, especially if you’re using them to teach specific pitch patterns and rhythms. For example, Rain, Rain is a simple song to play on Orff instruments, and you can reinforce mi-so pitch patterns and simple rhythms. Below are a few slides from my resource using Rain, Rain. Click HERE to learn more about it.
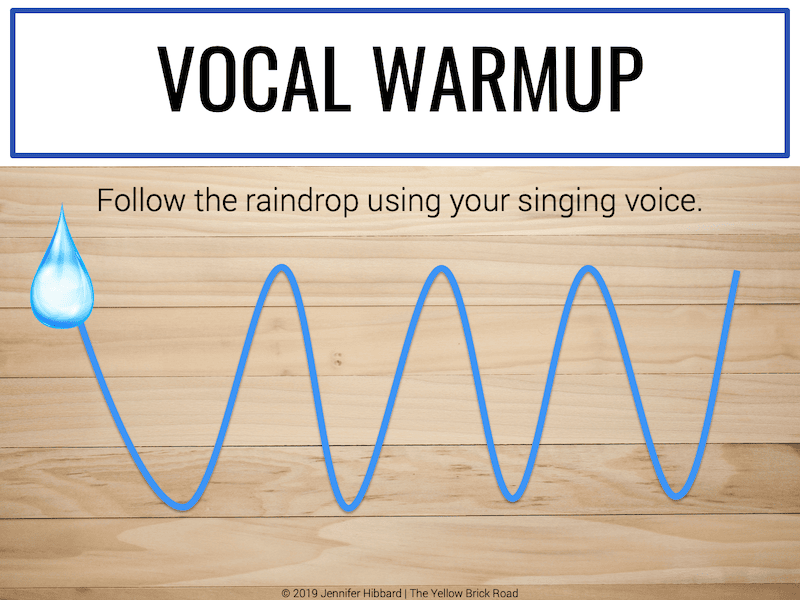
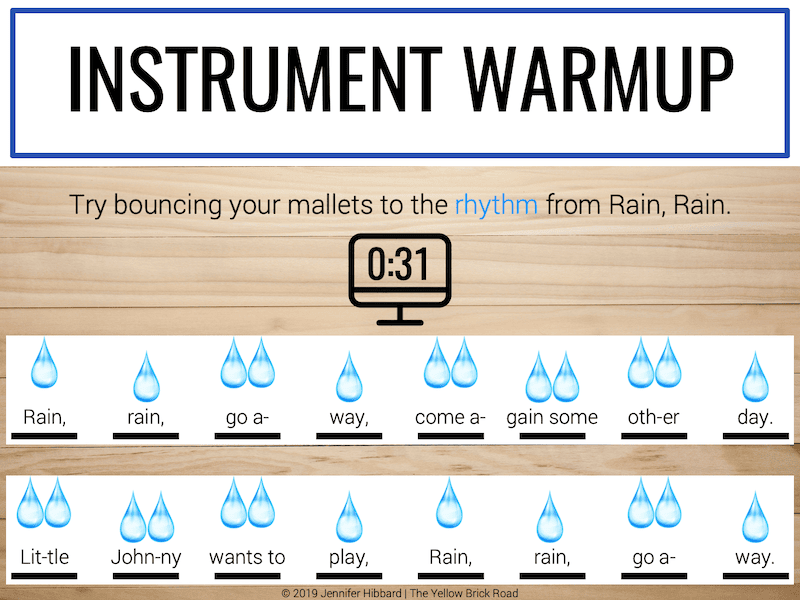
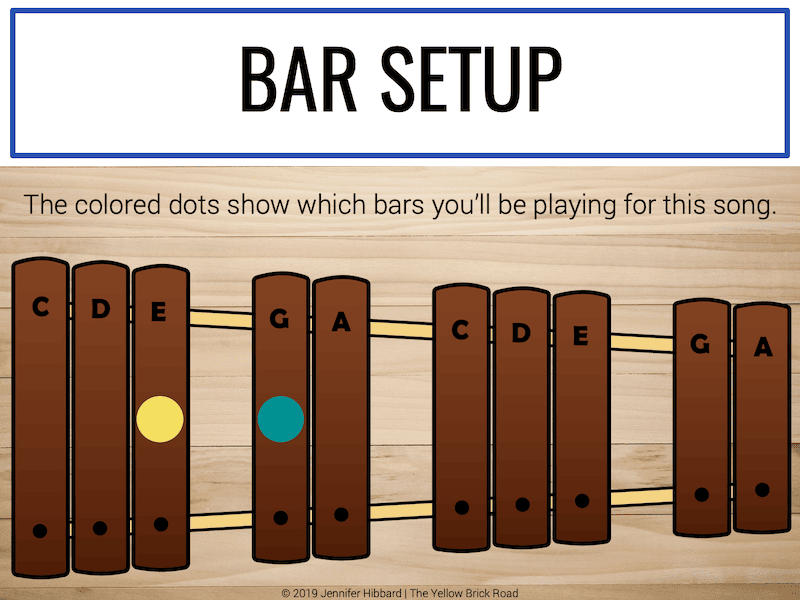
I hope these tips and resources help you feel a bit more confident as you introduce and practice mallet instruments with your students!
2 Responses
This is amazing! Your images are brilliant. Do you have all kids play together or do you play in groups?
Thank you! I really appreciate that! I'm no longer in the classroom, but when I was, I usually had everyone play together. We had enough instruments for half the class, so they always shared. If I had a larger class, or if I wanted to do rotations, I would have half the class sing, while the others played. Or I sometimes broke them into three groups to create an ensemble of rhythm instruments, mallets, and singers 🙂